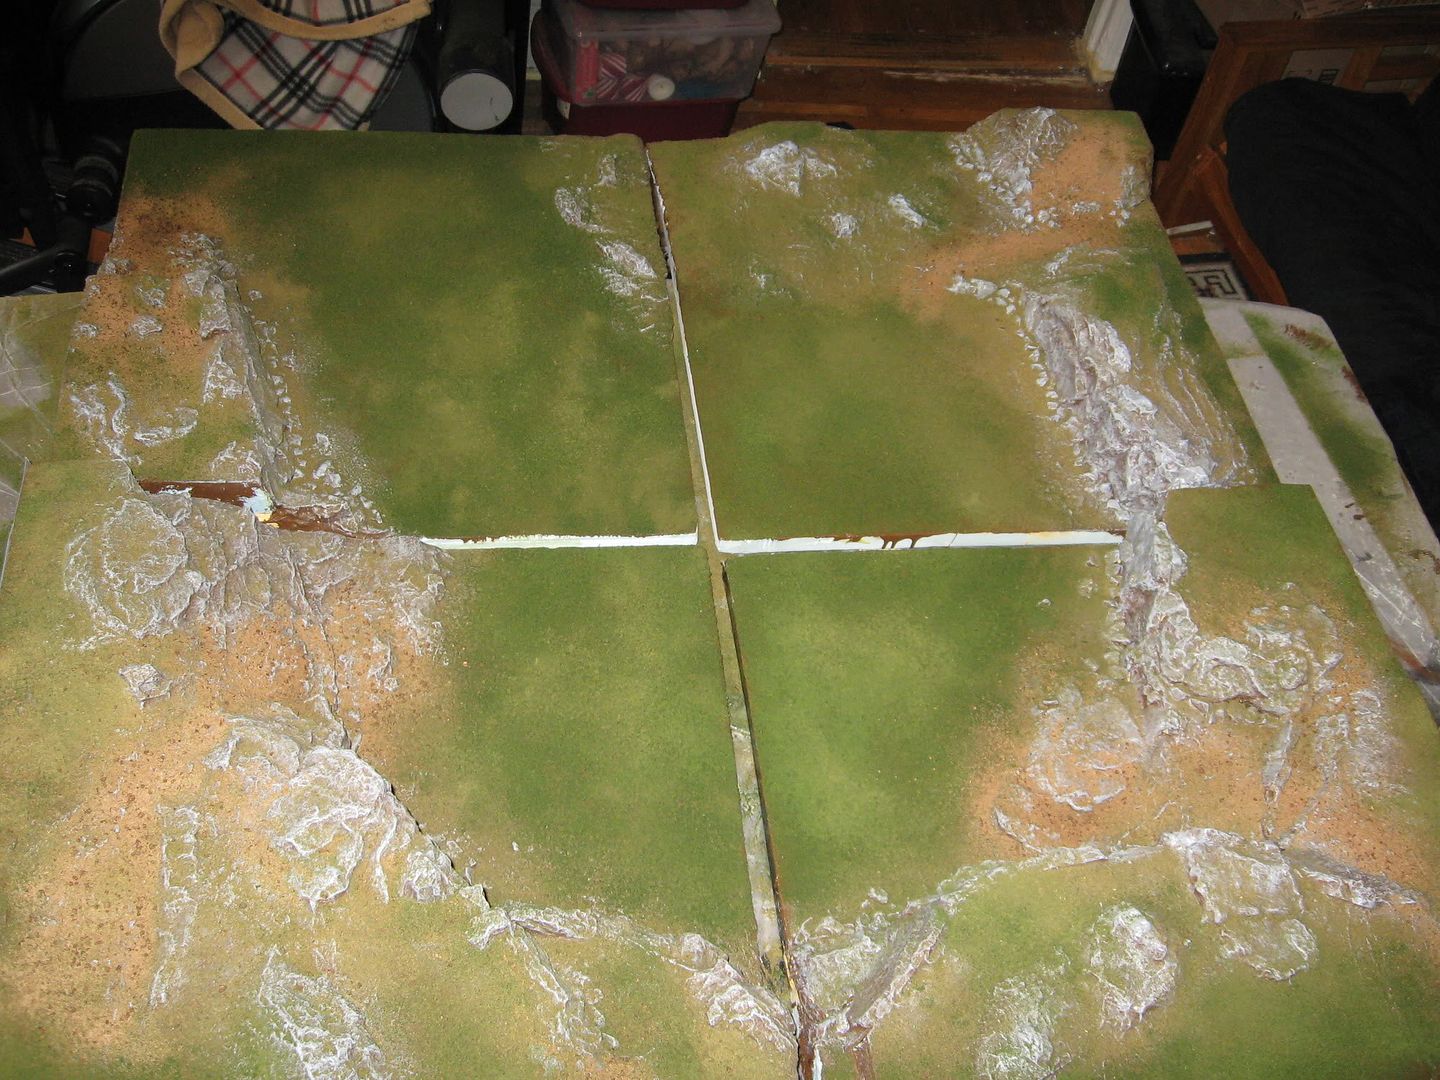
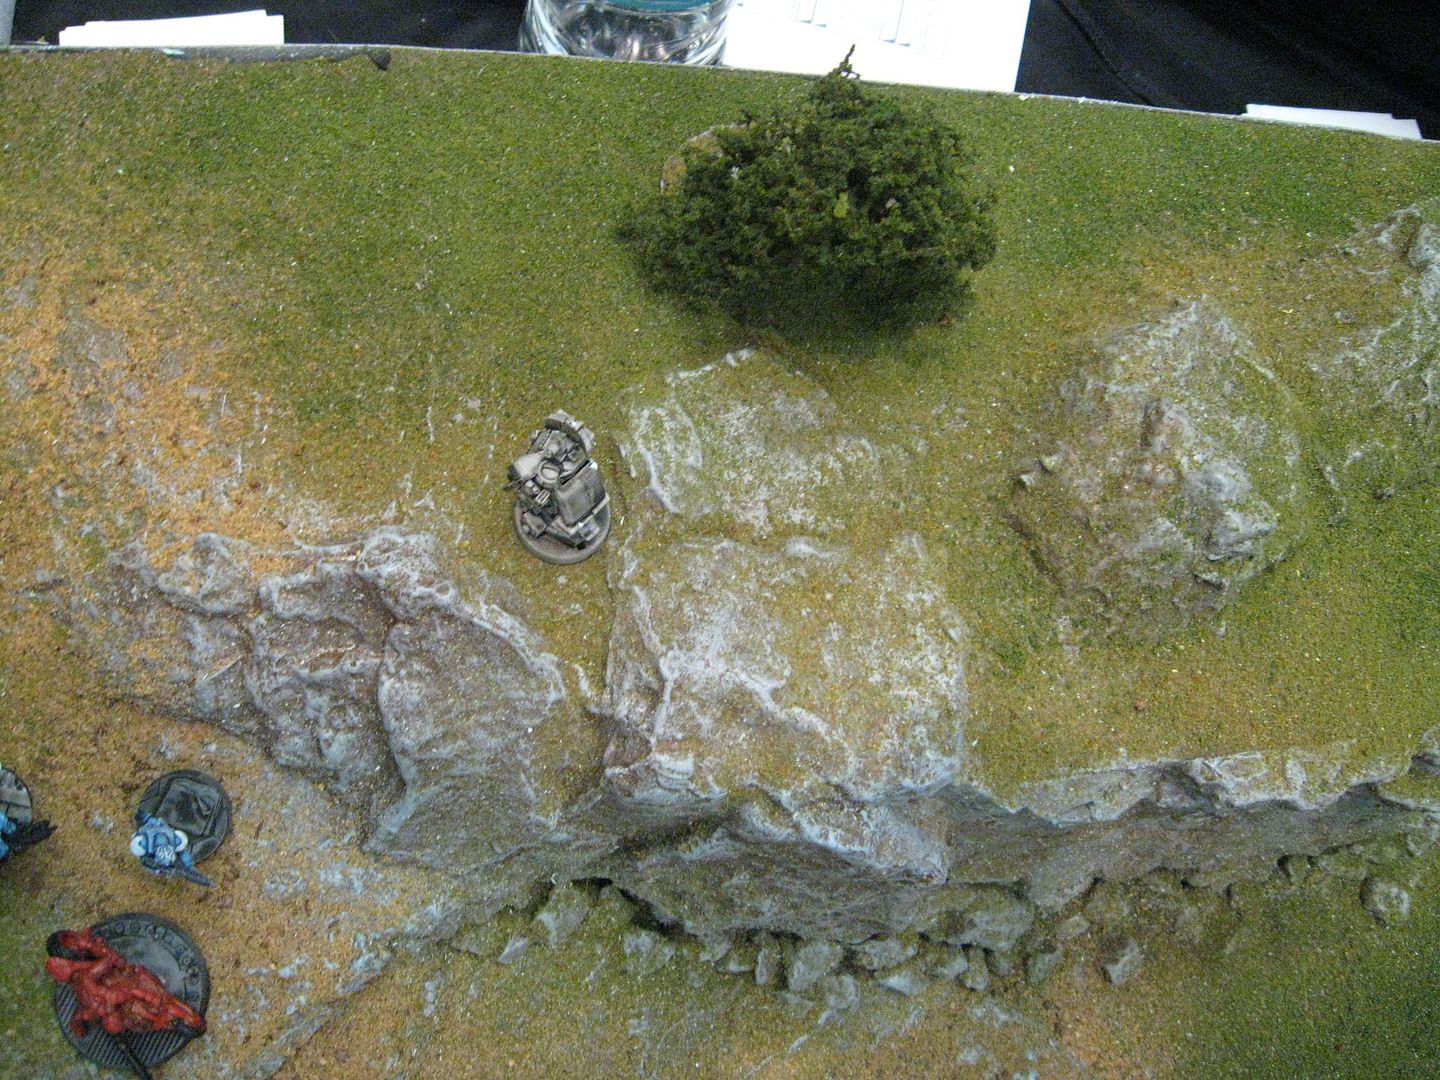
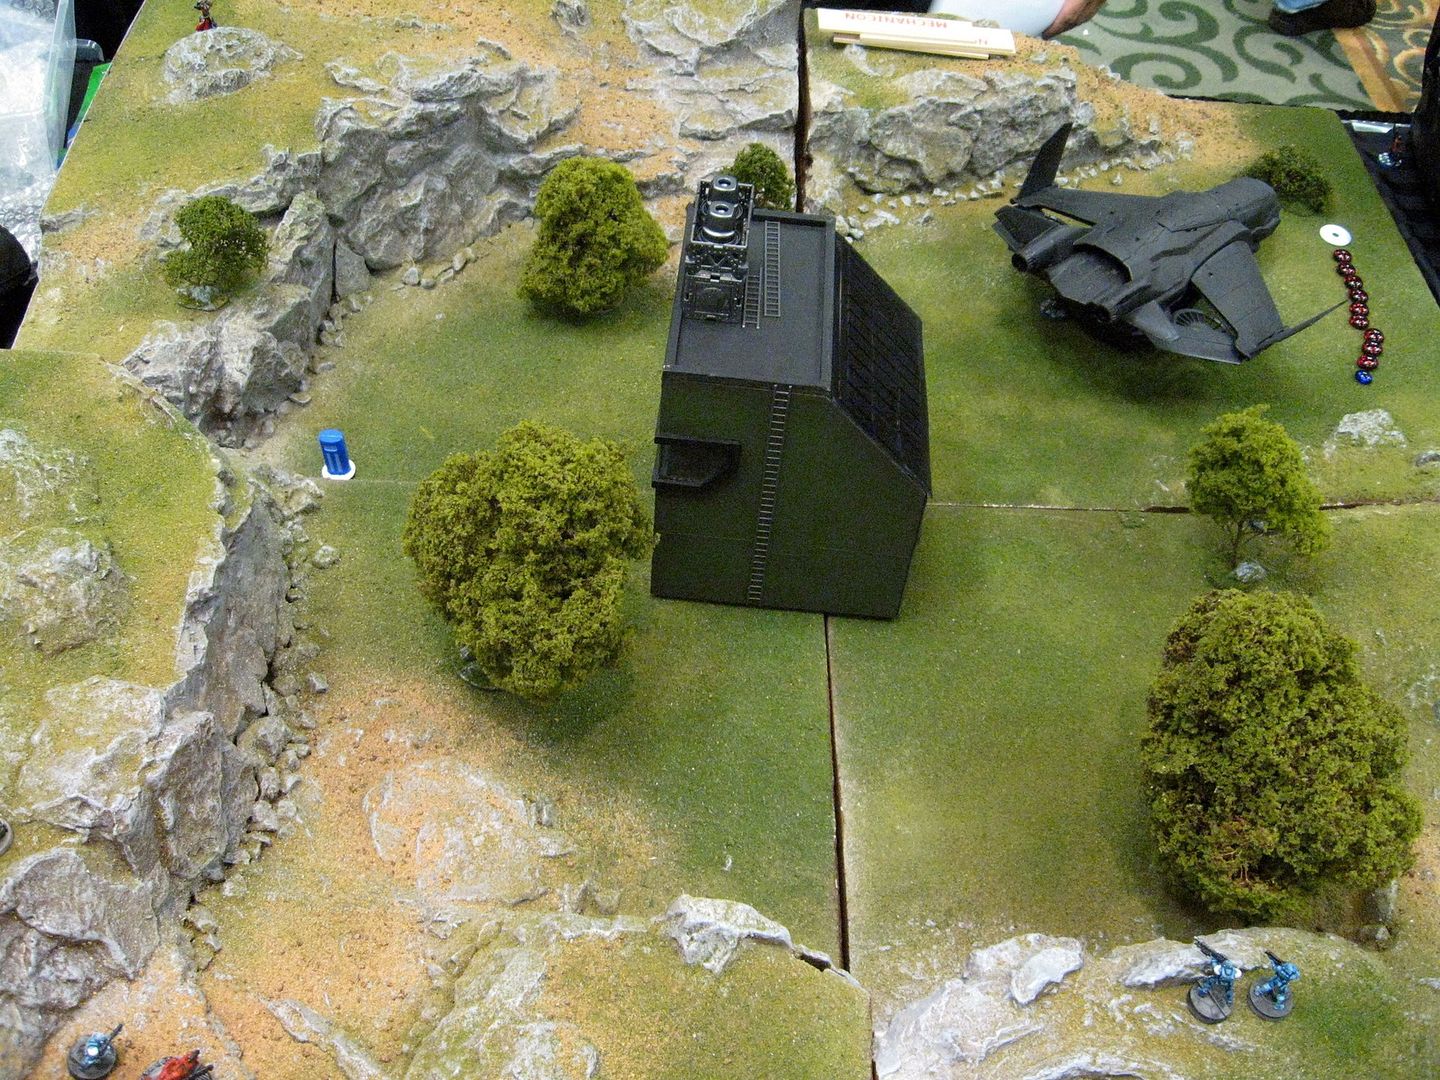
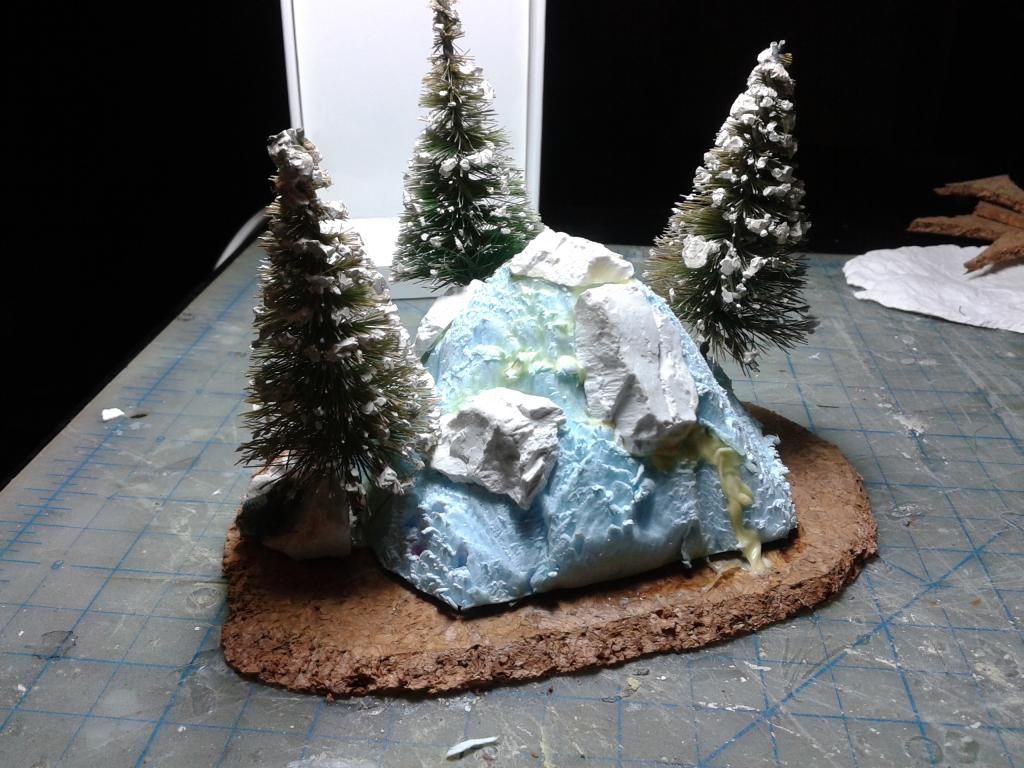
Six years ago I made this terrain table for a local gaming convention (the last time I've been to a game convention!!) when I joined the dreaded FB I joined some groups including Wargaming Terrain Tips (or some such name) and I posted this picture. Many members of that group, including that scoundrel Ray, demanded tips on how to make the rock cliffs in this board. So I'm going to do a very quick review of how I made the rock cliffs I'd like to make a proper detailed one but that will require making another board and then take proper step by step pictures. Here are some pictures of the rock cliffs painted but without flock.
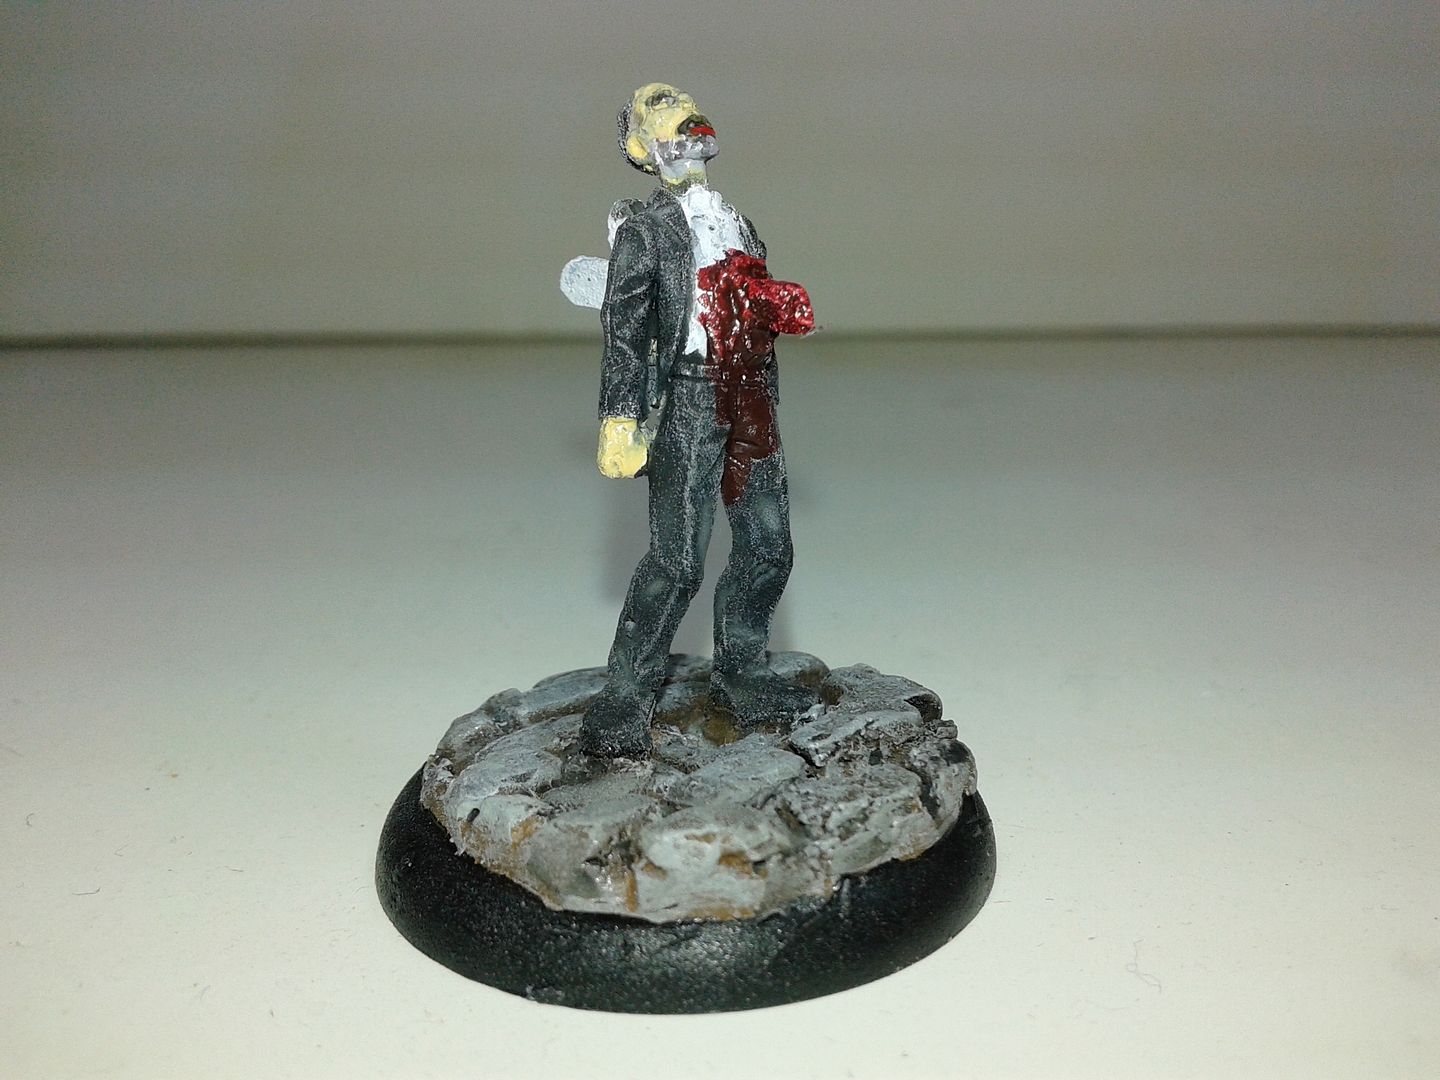
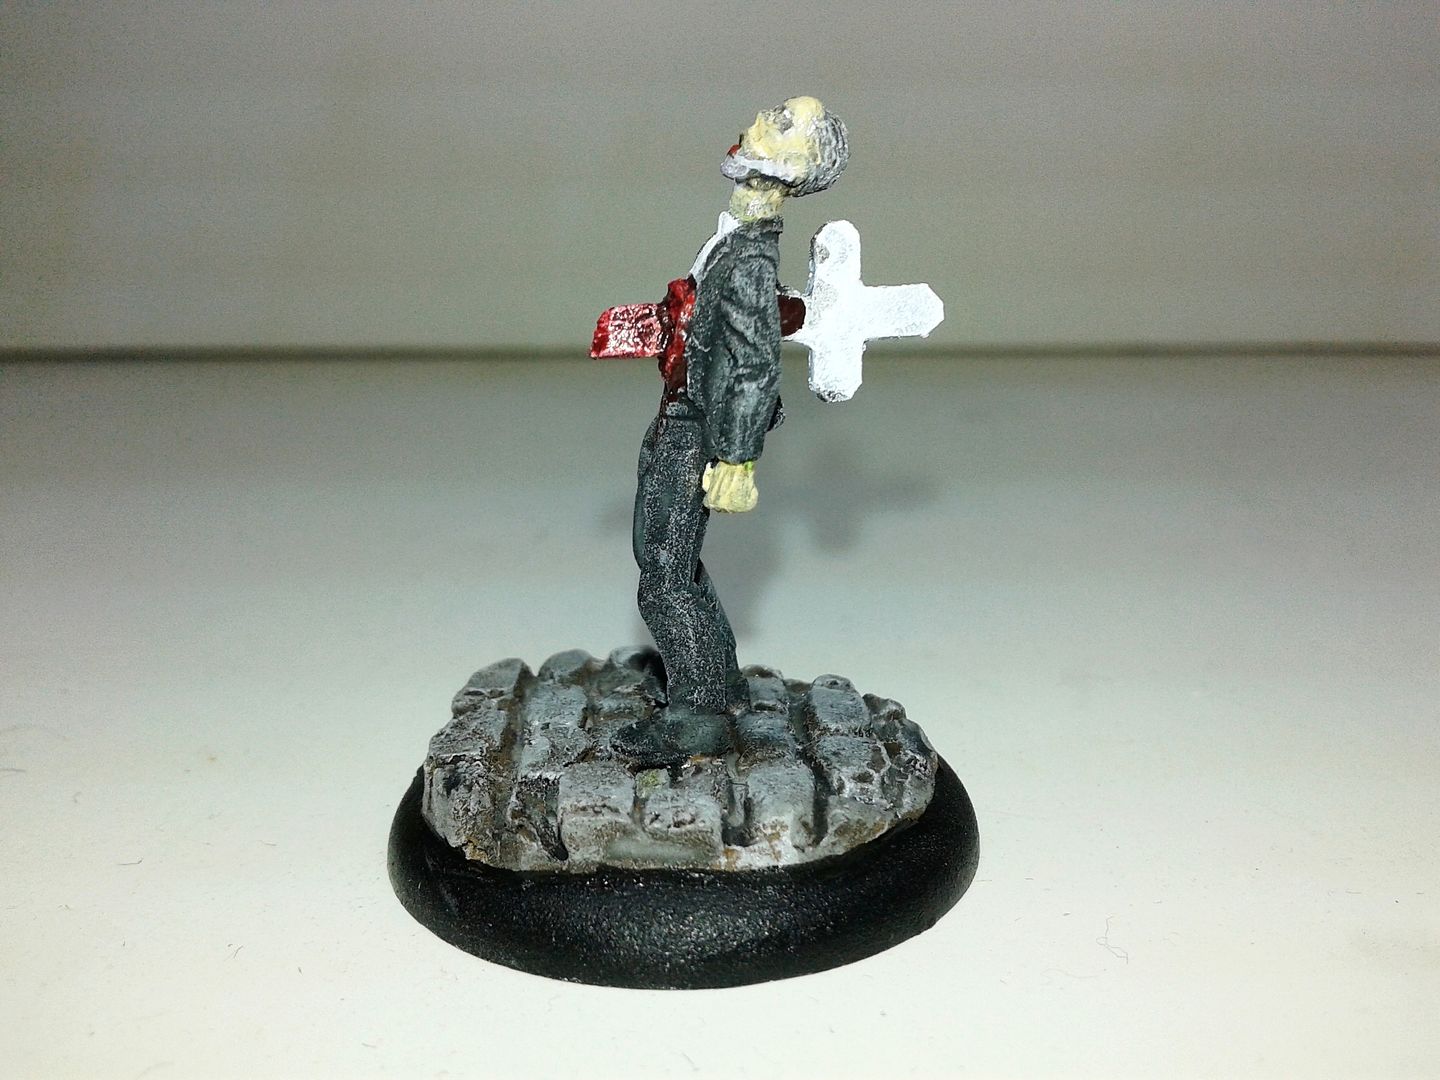
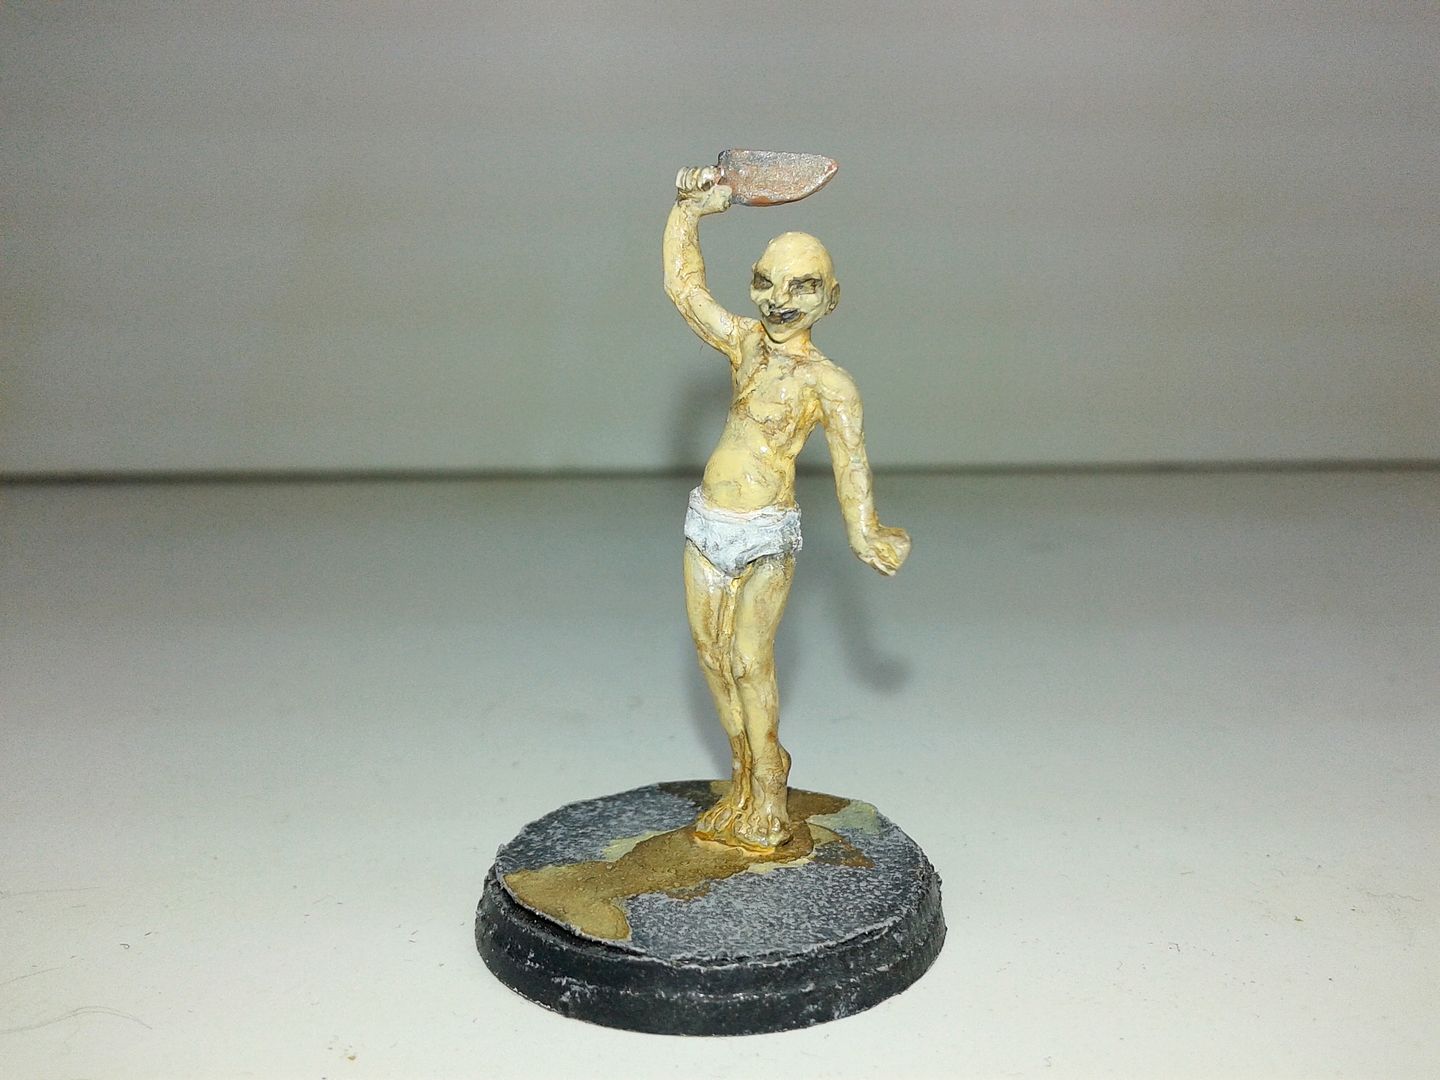
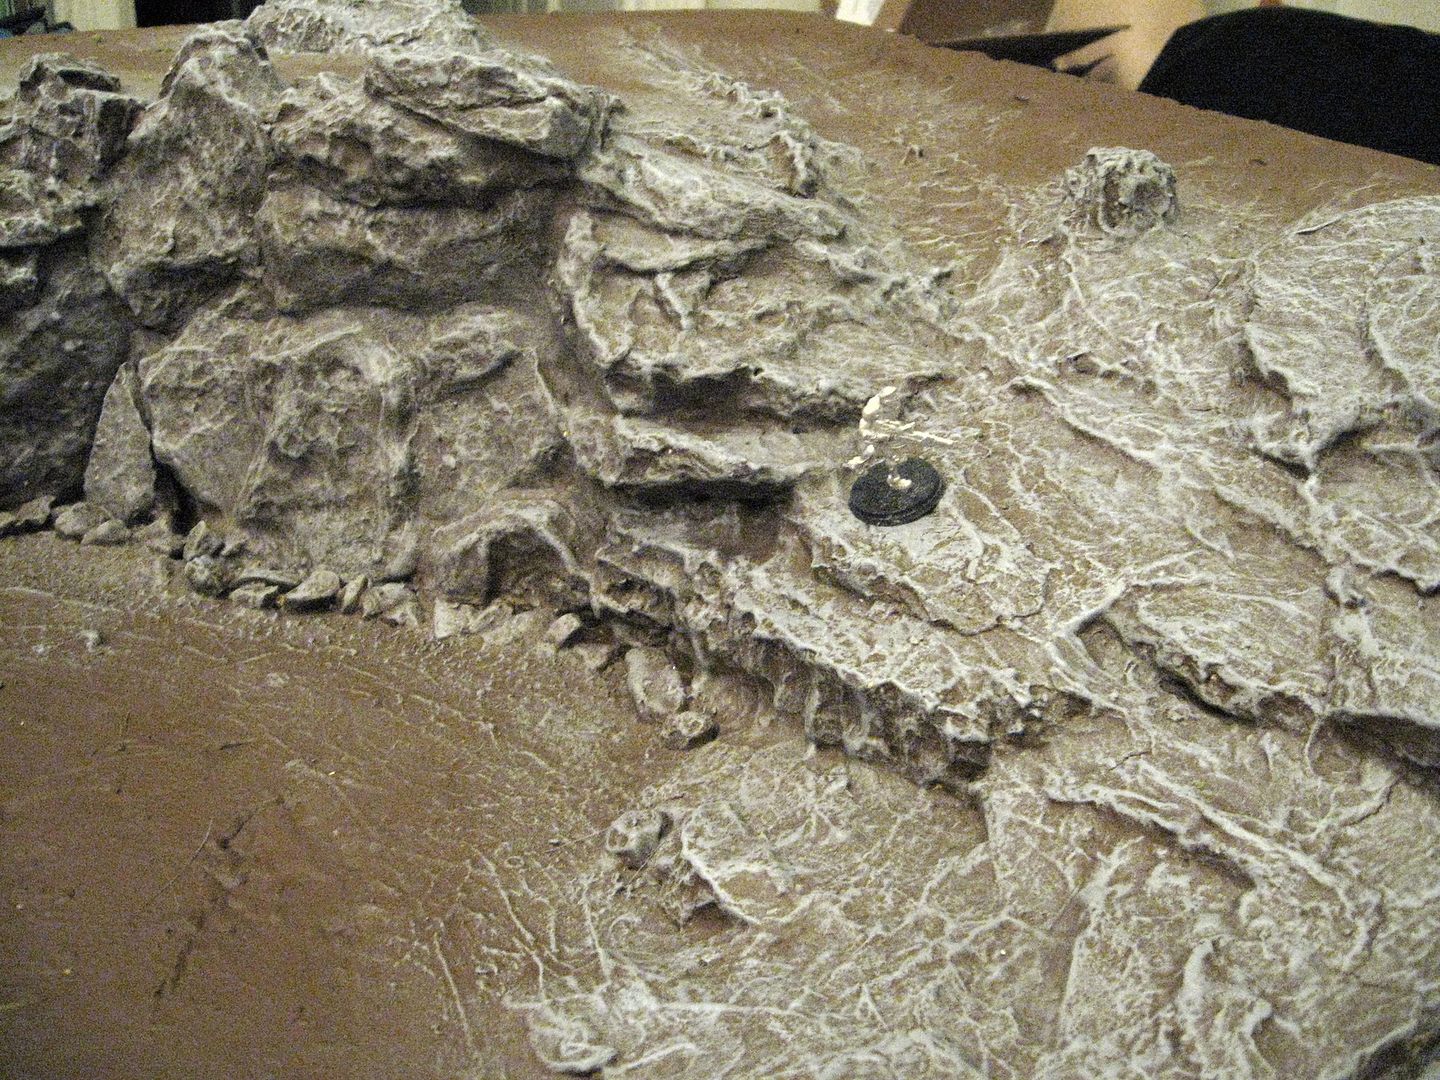
28mm Infinity Miniature for scale
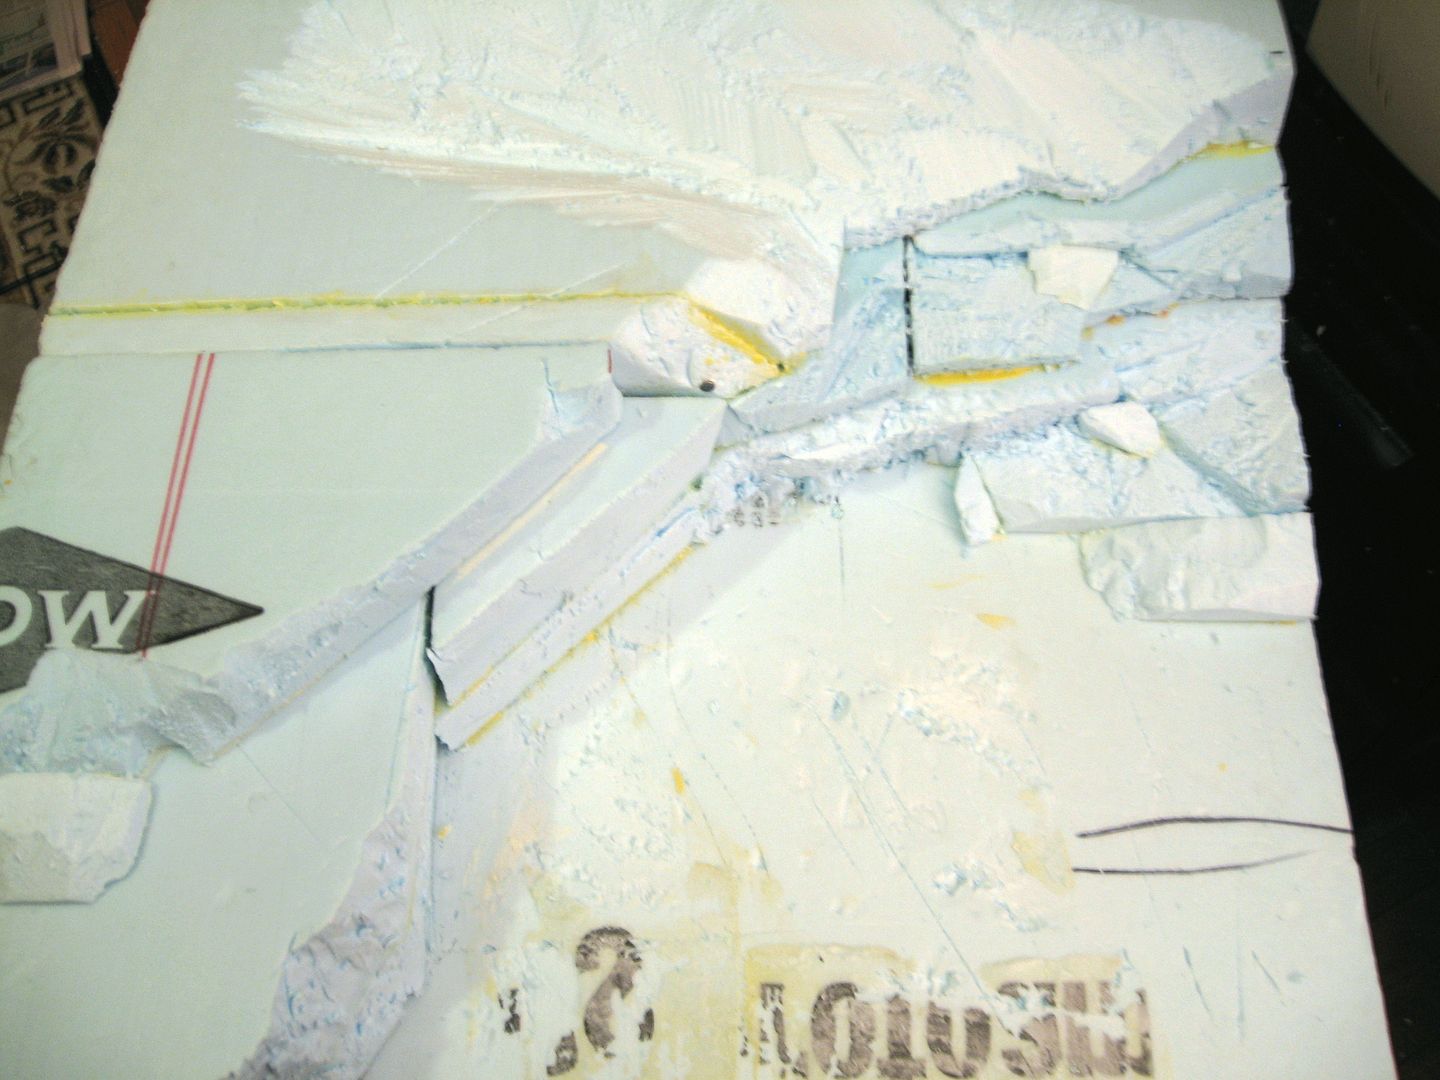
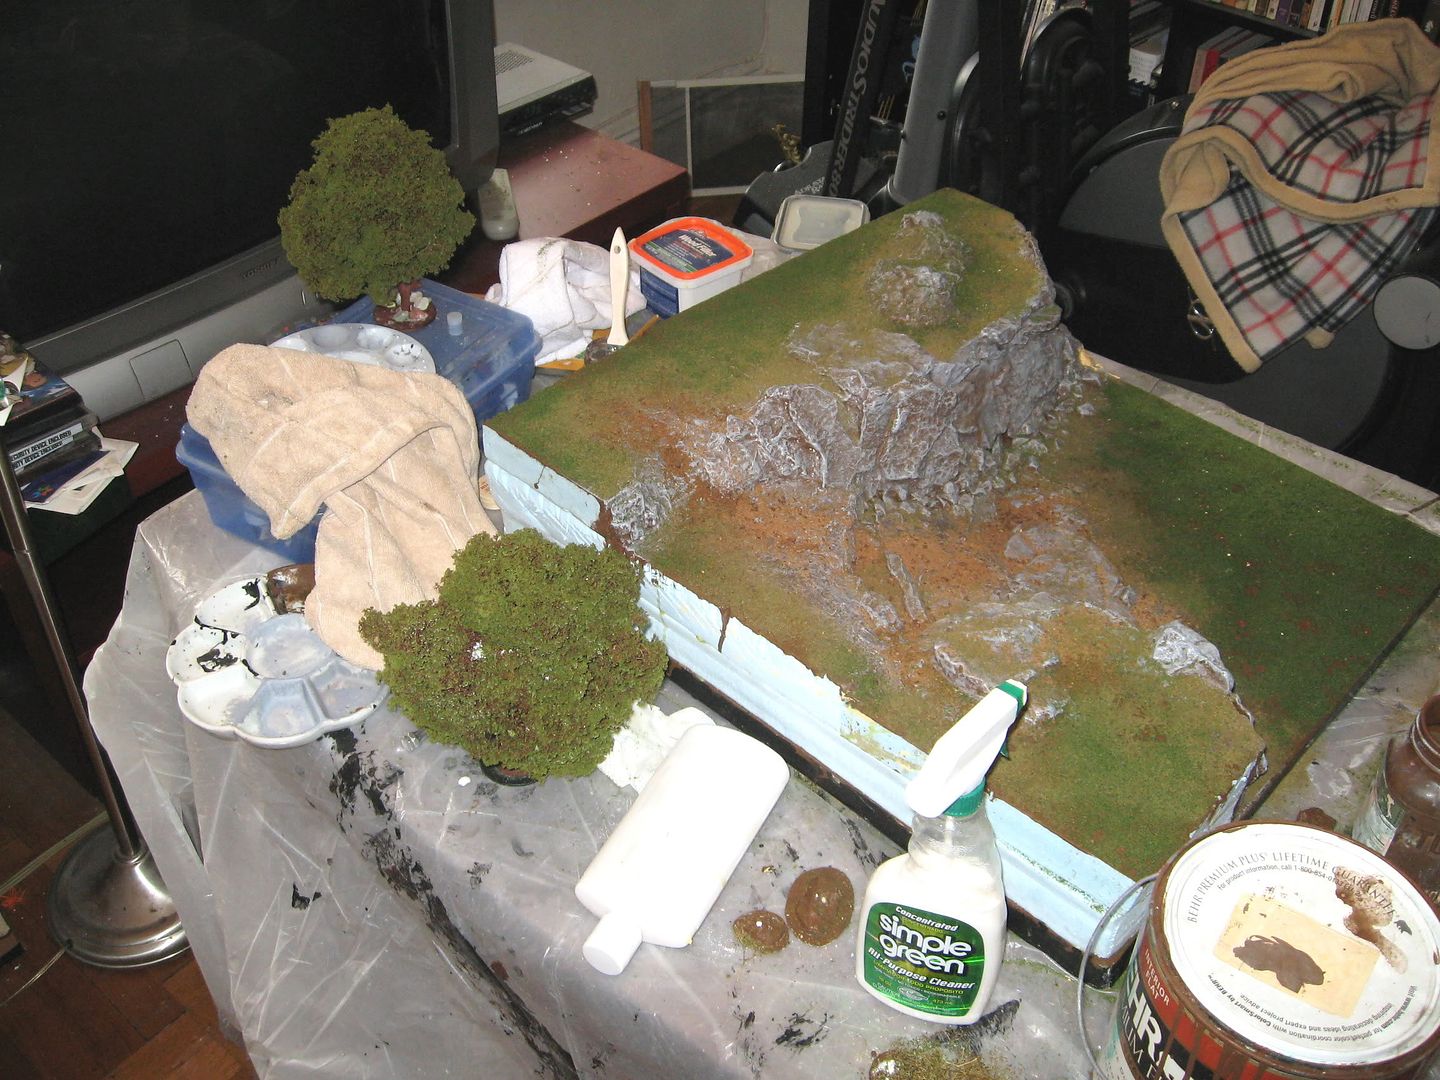
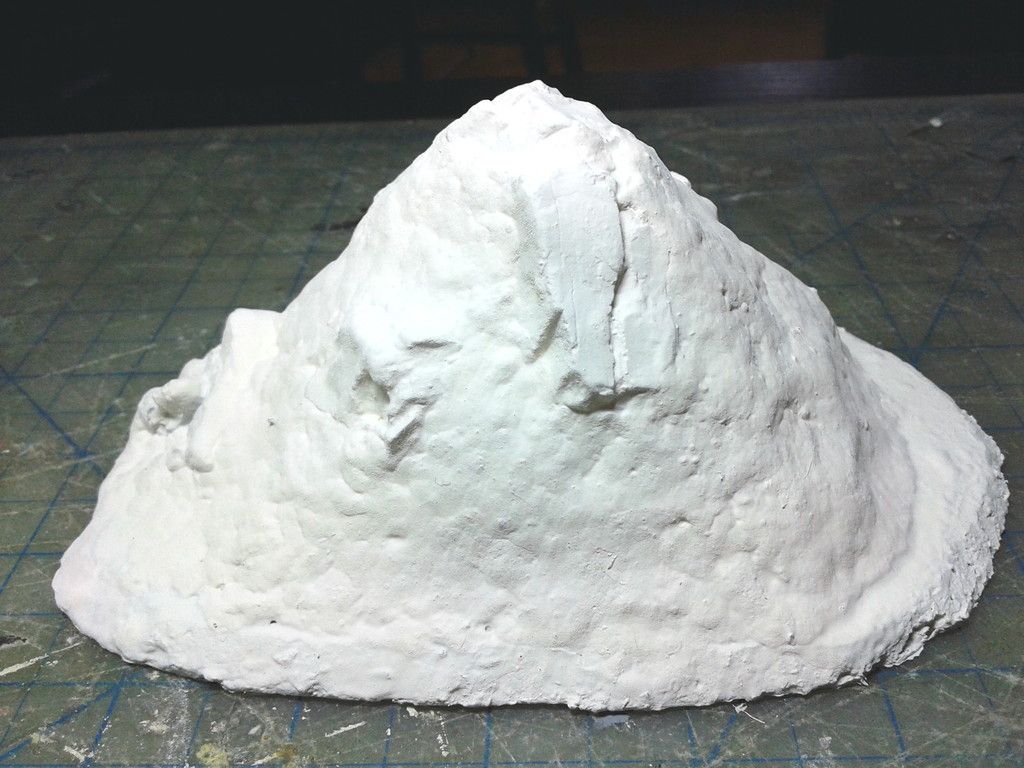
The cliffs are built up out of foam insulation...
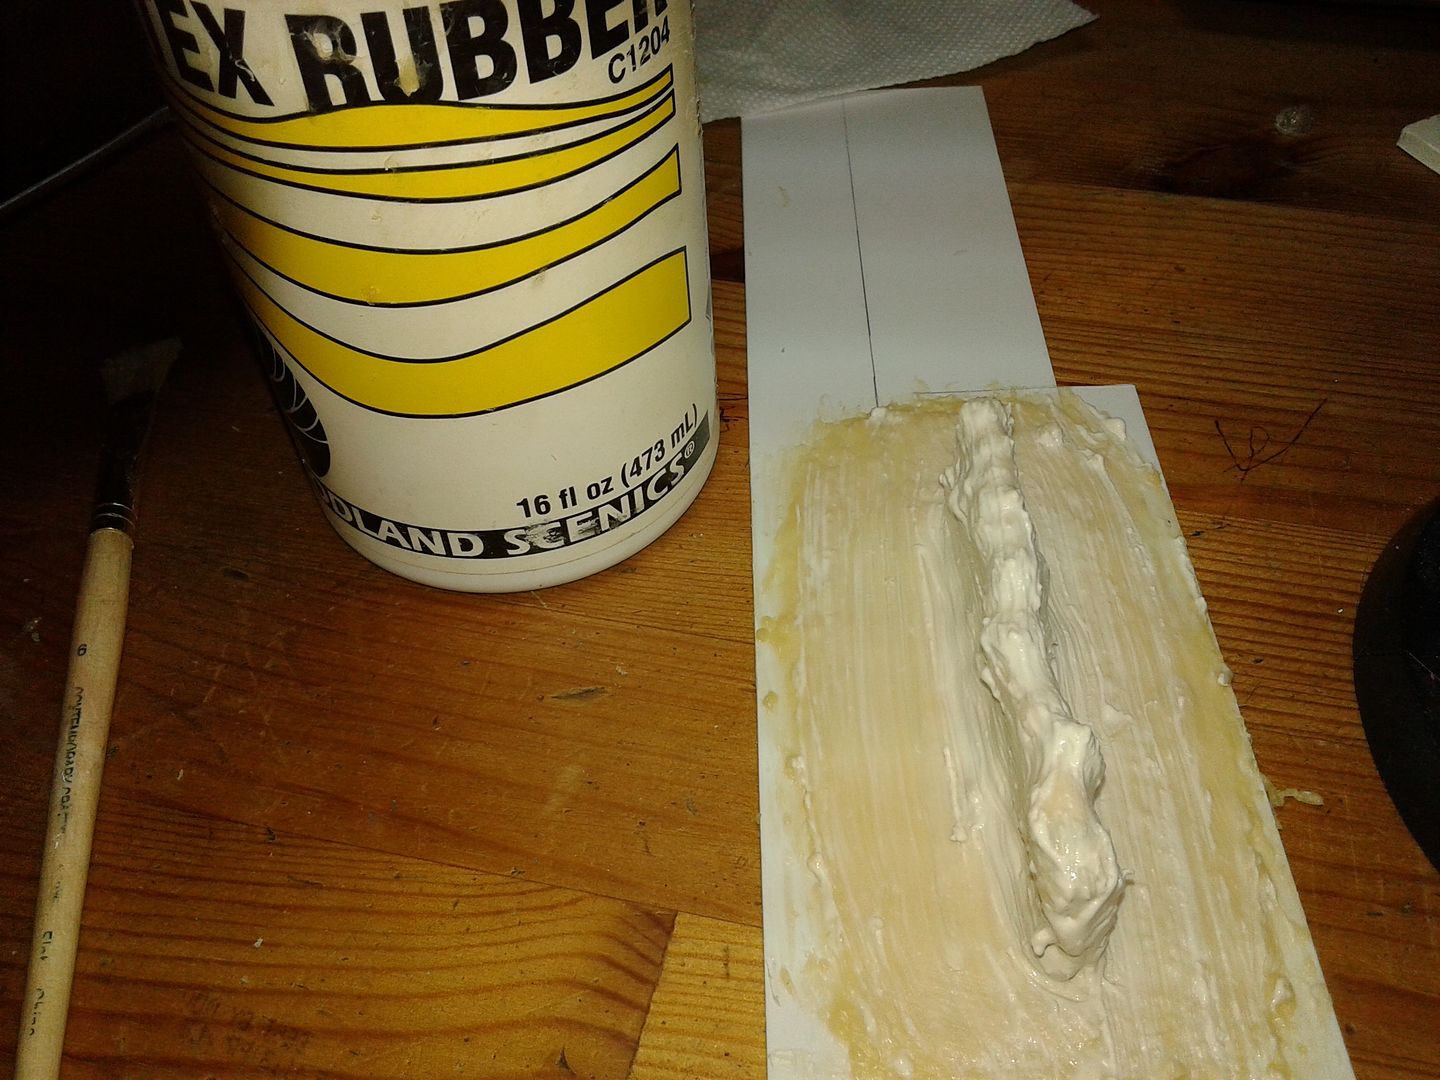
Then the rock cliff "faces" are clad in cast rocks cast out of tuffstuff using
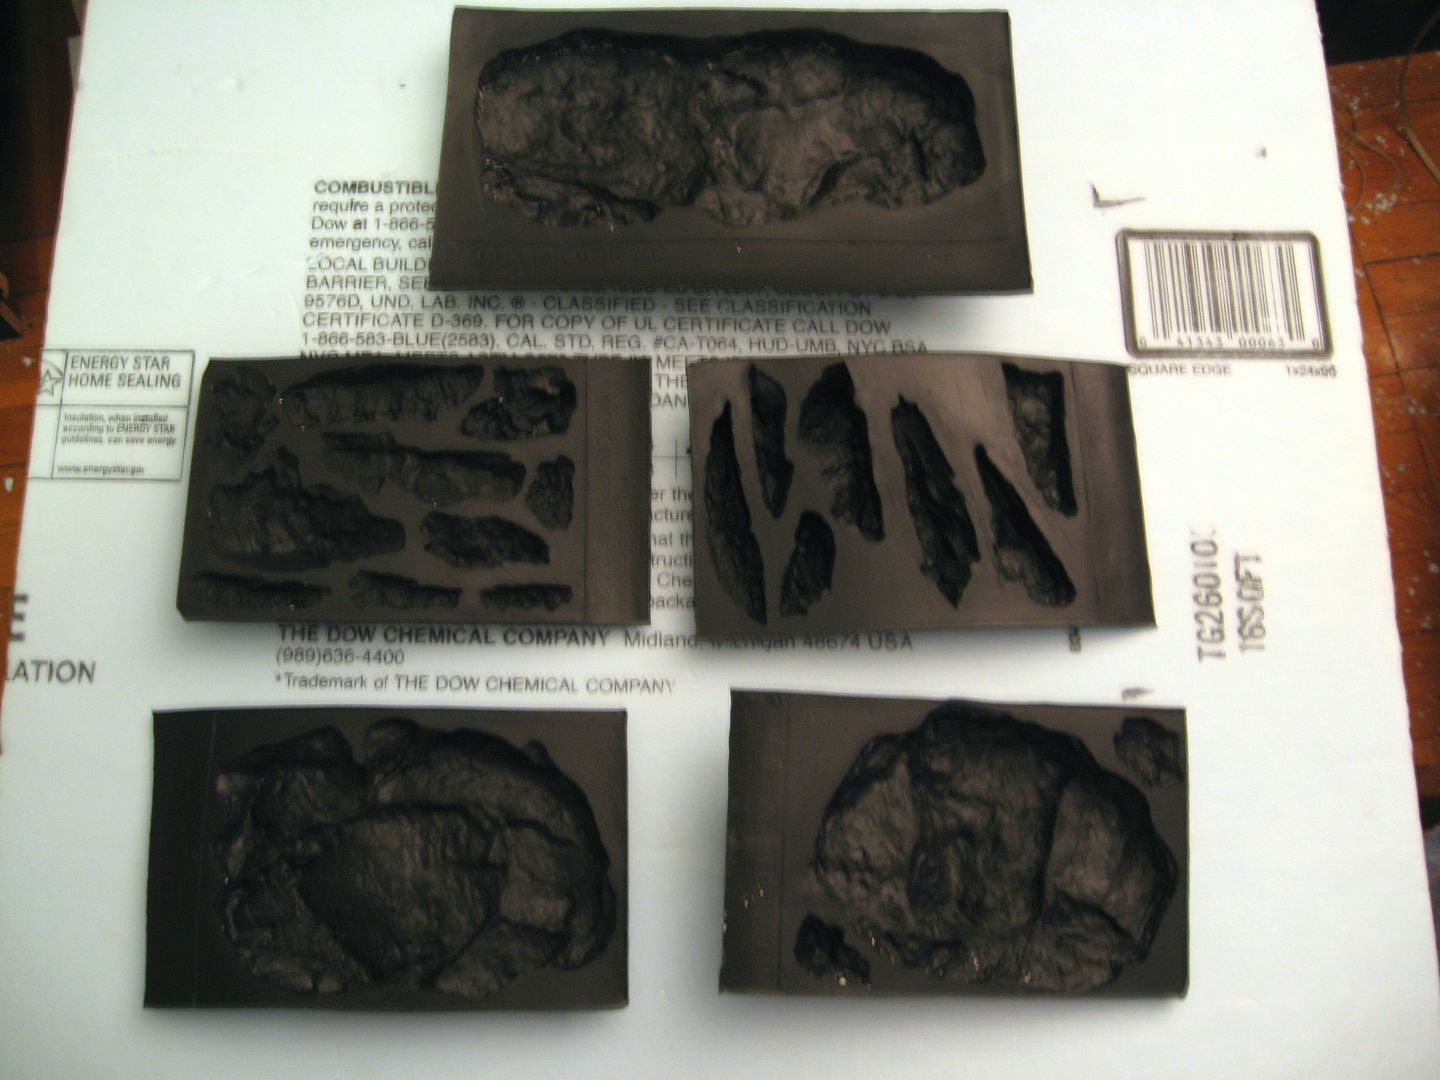
Woodland Scenics rock molds. They are very durable and by placing a mold on a slight angle when casting you can get different rocks from the same mold. For large projects you are going to need several different molds. I used five molds for this project.
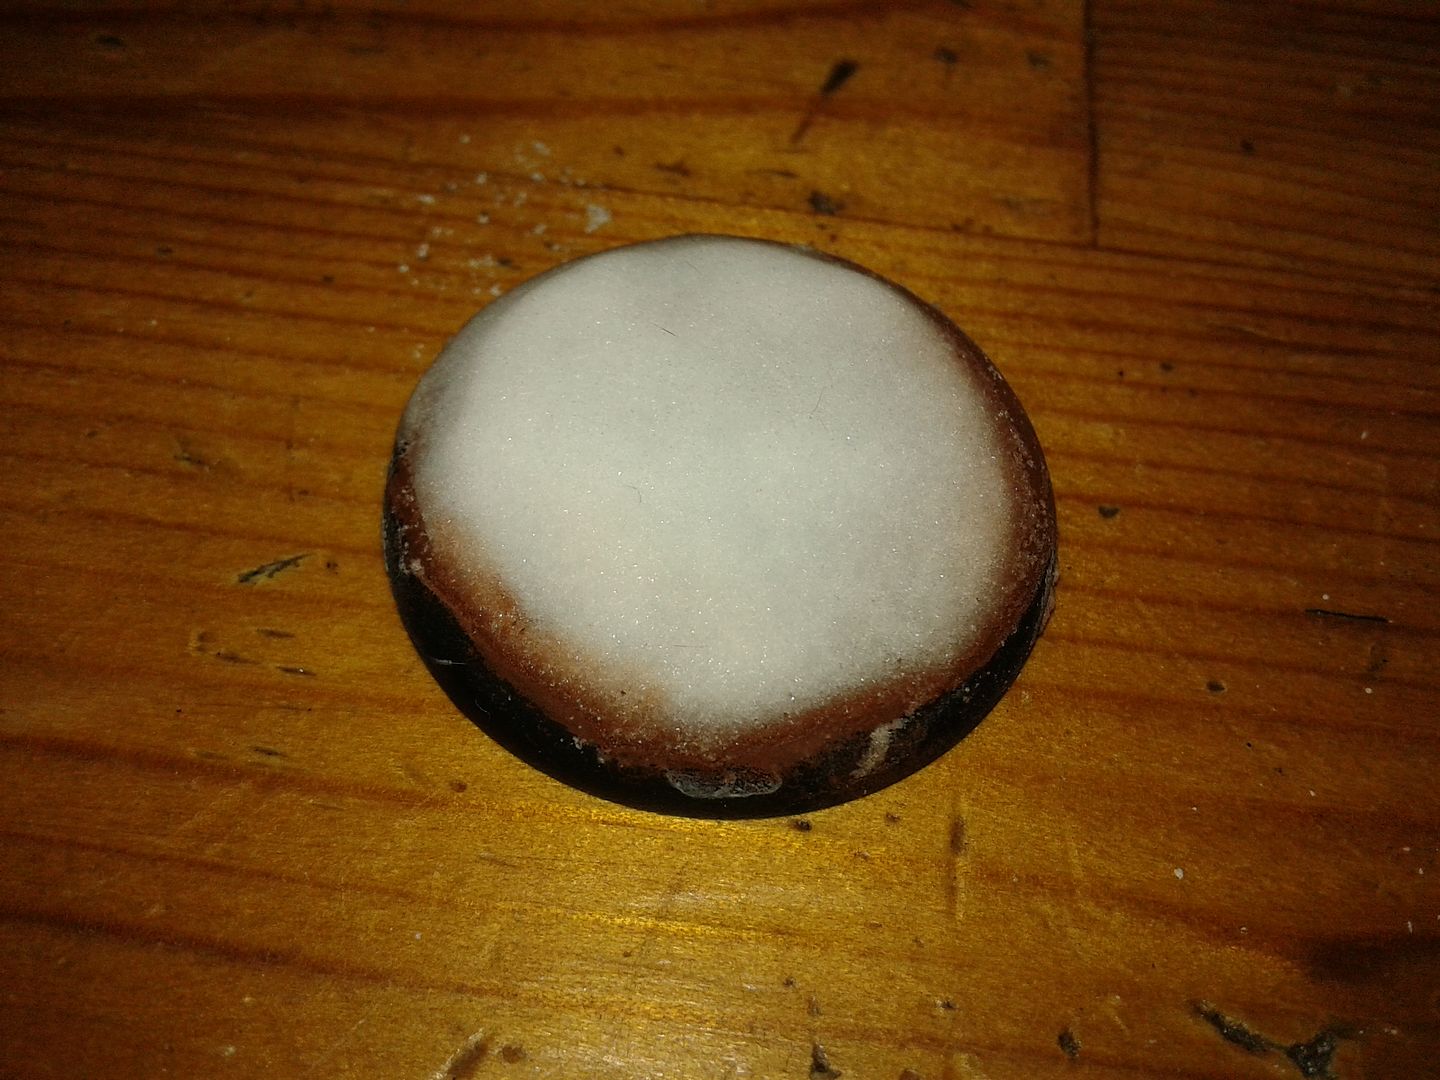
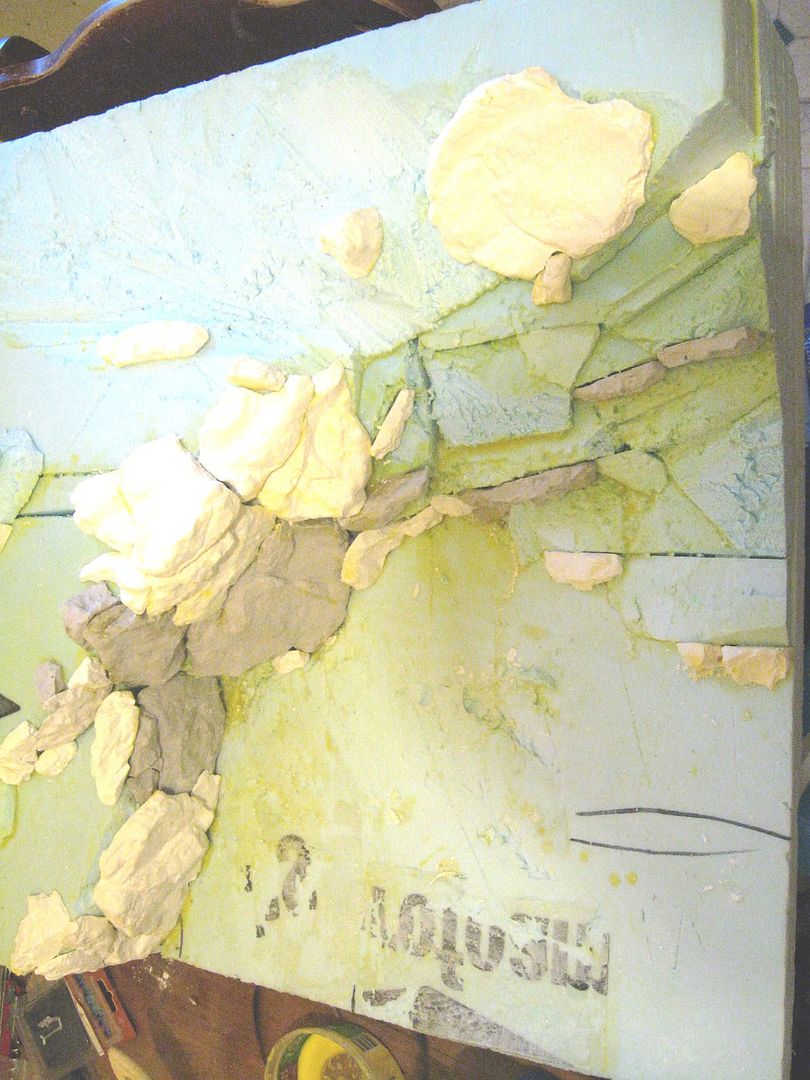
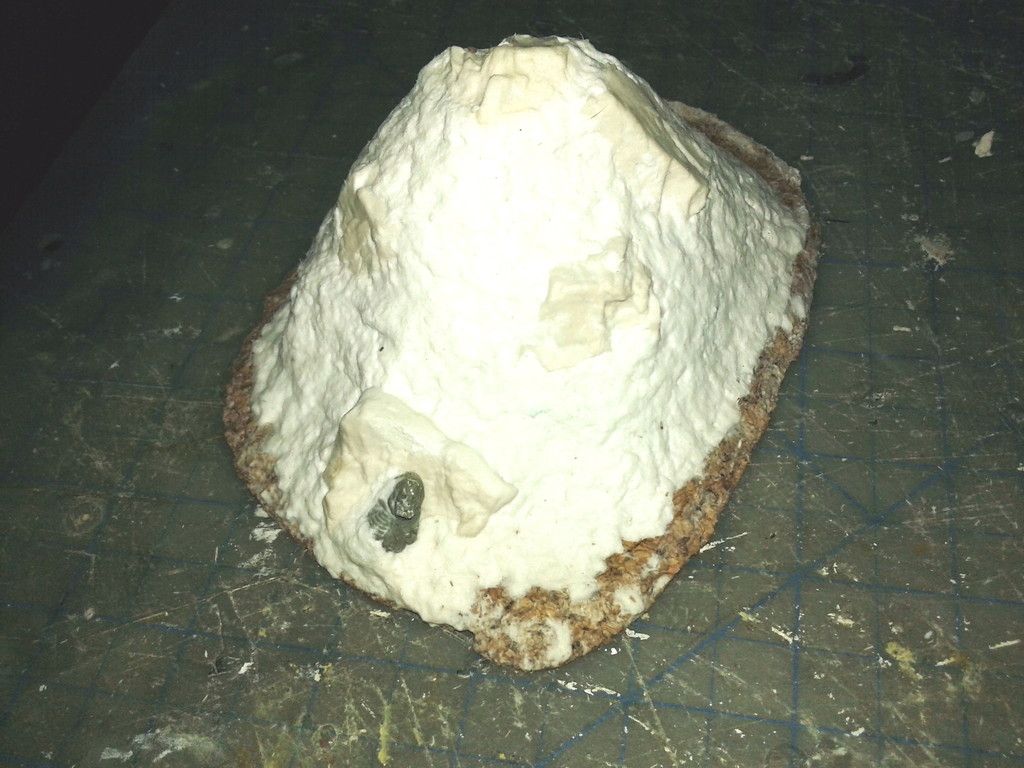
First I cast up a small ton of various sized rocks, you'll notice I experimented with adding pigment to the plaster while casting.
Then you star gluing them to the foam framework. Its very much like a jigsaw puzzle. You'll have to break up many of the rocks to make a nice looking wall, I started dry fitting them before the plaster fully dried it was easier to break them into the shapes you need that way.
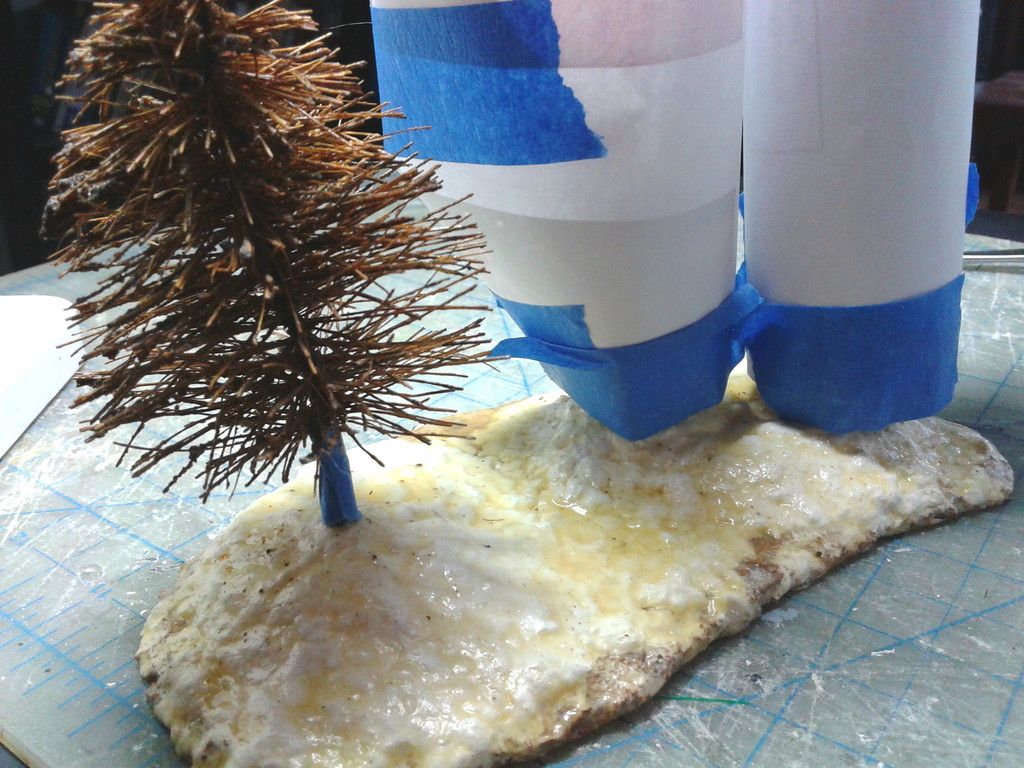
Then I used filler paste (plastic wood as the case was) to fill in the gaps. Finally added small rocks along the cliff base.
That's it in a nutshell folks!